3 Foundational Inversions That Will Help Your Handstand
By: Kayla Nielsen
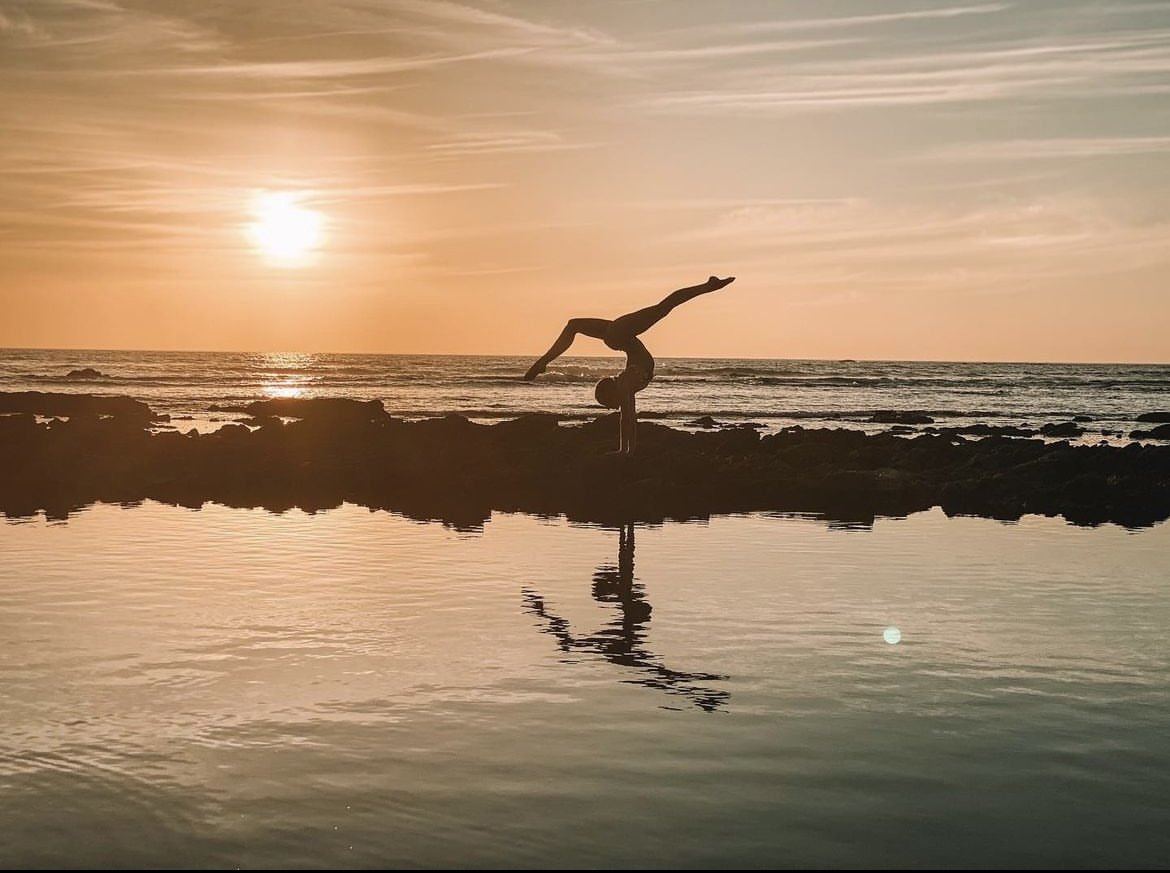
Handstand has become one of those flashy pinnacle postures that everyone’s interested in (which I understand, because they’re FUN!), but in the meantime, people seem to forget about the most foundational inversions that can help them get to handstand with a little more ease.
What’s the point of inversions? Well, for one, they allow the blood to rush to the head, which is beneficial for most of us given that we sit or stand A LOT during the day. Like other postures, inversions also help build strength, flexibility, and balance.
Beyond the physical, inversions help us with the concept of “flipping our perspective,” which can aid in expanding our mindset to better understand other people’s opinions, or ways of thinking. And, because going upside down typically evokes fear for most people, inversions also have this wonderful ability to build confidence, by building both mental and physical strength in order to face those fears.
Have I sold you on inversions yet? Great! Try these three below:
Standing Forward Fold
There are plenty of arm or hand variations that you can play around with your fold, but this version will be a classic standing fold.
How to do it:
Stand with your feet at hip width distance, or closer if you’d like a deeper hamstring stretch. Bend as much as you need in your knees, and take an inhale to lift your arms up and overhead. With your exhale, swan dive fold keeping your back flat and knees soft as you descend. Keep breathing.
Once you’re folded, let the hand hang by the sides, or grab your outer legs or ankles. Shift the weight forward in your feet to play with the balance, AND tug down through your heels to maintain activation in the flexibility. Work on lifting your hips up and over your knees, your knees up and over your ankles.
Lift your low belly up and in, using the deep pelvic activation to fold from your belly strength, RATHER than pulling your upper body over your legs with the strength of your arm.
Stay here for as long as you’re can, getting comfortable with the sensation of blood rushing to your head.
Downward Facing Dog
Utilize your time in down dog to get used to the blood rushing to your head, and also to built hand and wrist strength for handstands.
How to do it:
Start on all fours with your toes tucked underneath you, and your hands firmly planted. Take an inhale here, and press into your hands and feet firmly. With your exhale, find down dog by lifting your knees off the mat, straightening as much as you can into the legs, and lifting your hips skyward so that you’re in an inverted V shape. Keep breathing.
From here, with your eyes look at your feet making sure they’re as wide as your hips OR wider if you’re tight in the hamstrings and/or low back. Your knees can bend a little or A LOT here, working on tilting your tailbone directly UP towards the sky.
Keep the gaze where it is so the entire spine in long. Lift your belly up and in to turn on pelvic floor engagement.
Bring the awareness to your hands, and work on sending the weight to the fleshy space between your first finger and thumb, RATHER than spiraling outward into the pinkies. Then, claw into the mat with all 10 fingers. This hand grip and wrist awareness will help with your handstand.
Standing Splits
This shape is usually the easiest one for most people to enter handstand from.
How to do it:
Start in a Standing Forward Fold, and take an inhale to lift your right foot off the mat, and send it towards the sky. Keep your leg lifted, and as you exhale, fold a little more deeply over your left leg. Keep breathing.
Super important here to activate the right foot and leg as much as possible. That means you light up the toes with flex, point, or floint- the foot activation will turn on the calf. Lift the right knee cap toward your hip to engage the right thigh. Actively drive your right heel up and overhead in order to turn on the right hamstring. The more active the right leg is, the easier it will feel to control floating in space.
Spill the weight as far forward in your left foot as you can, while still keeping the left heel plugged in. Turn on your low belly to fold over the left thigh.
Make sure you switch it out, and repeat on the other side once you’ve had enough.
Tag us in your inversion photos when you try them out! Better yet, join a retreat to experience in depth inversion workshops and handstand training. Happy practicing!


